User Management
Manage user accounts, send invitations, configure roles, and maintain security across your platform.
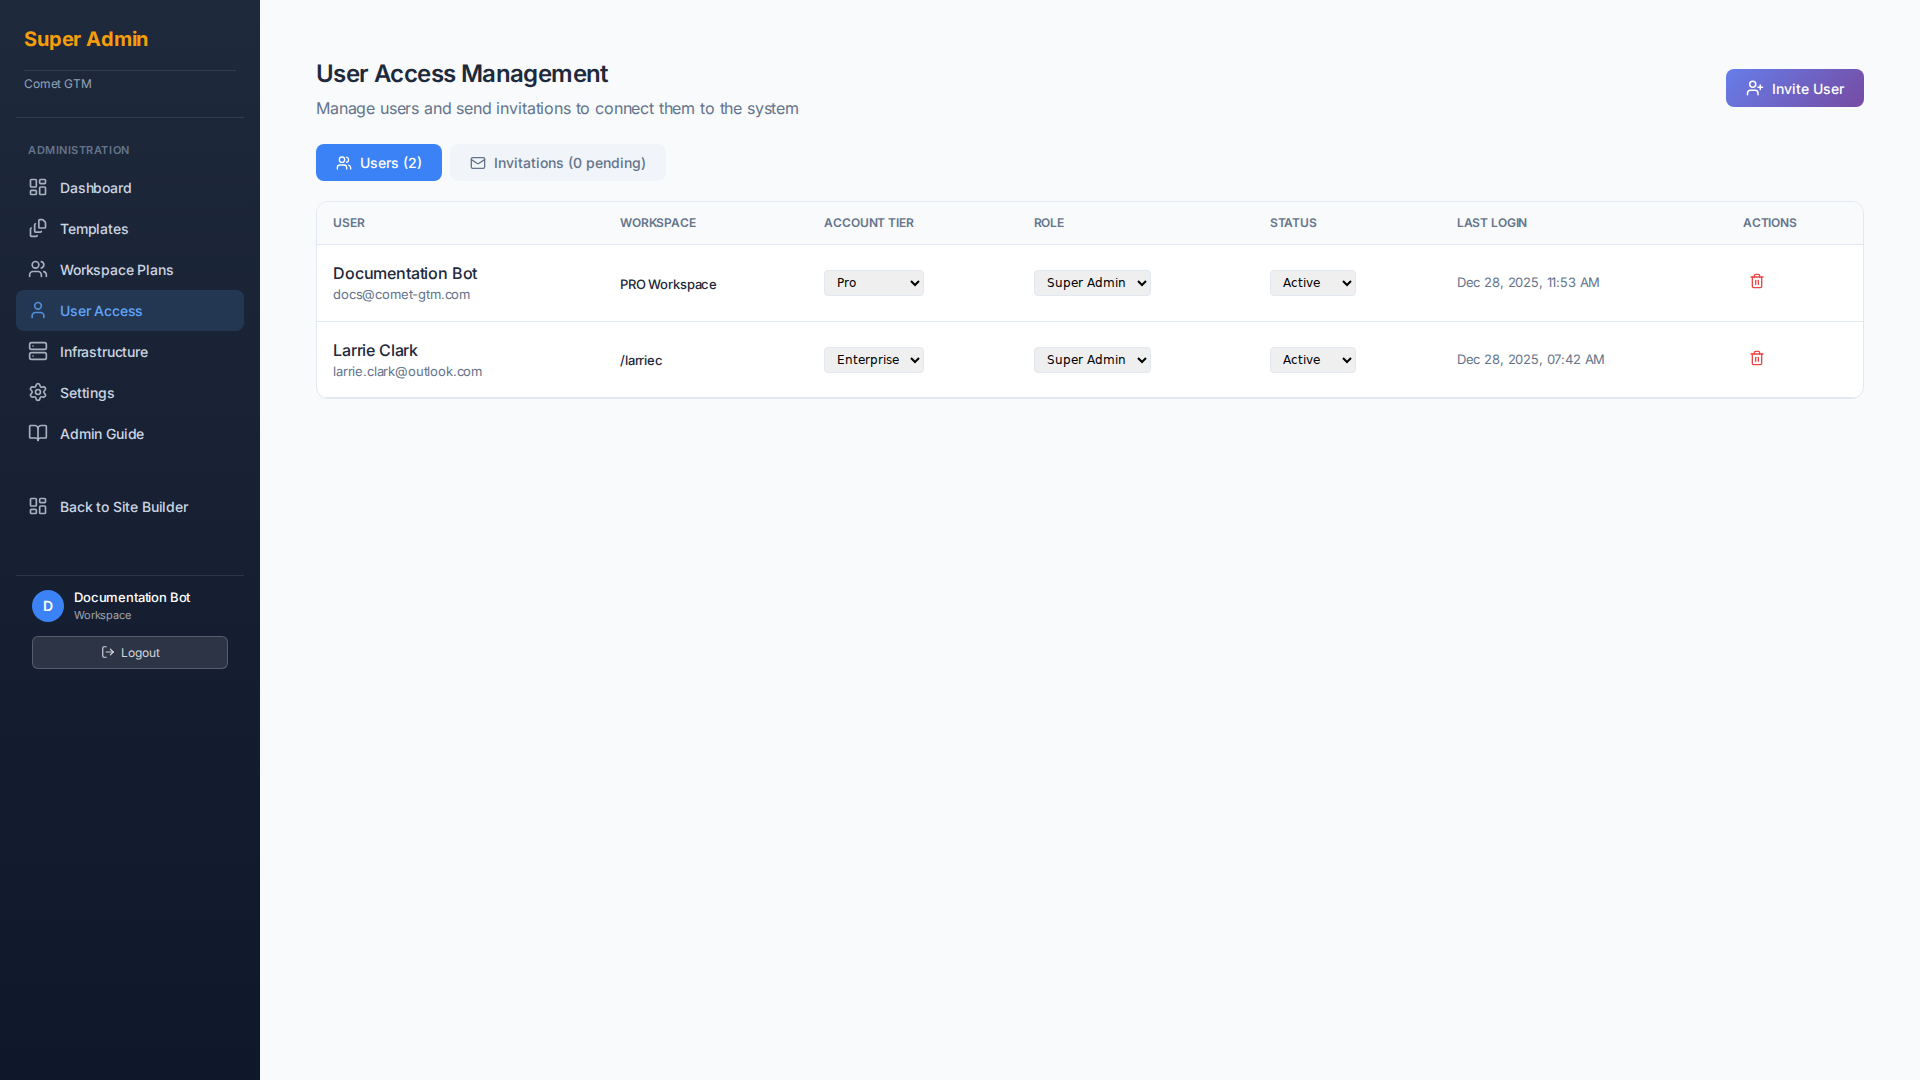
Understanding the User List
The user list displays all accounts in your system with key information at a glance:
| Column | Description |
|---|---|
| Name | User's first and last name |
| Login email address | |
| Role | Permission level (Super Admin, Admin, or User) |
| Status | Account status (Active, Pending, Suspended) |
| 2FA | Whether two-factor authentication is enabled |
| Last Login | Most recent login timestamp |
Inviting New Users
Comet GTM uses an invitation-only onboarding system. Users cannot self-register; they must be invited by an administrator.
Click "Invite User"
From the User Access page, click the "Invite User" button in the top right corner.
Enter User Details
Fill in the email address, select a role, and choose which workspace they should belong to.
Send Invitation
Click "Send Invitation" to email the user a secure link. The invitation expires after 7 days.
User Completes Registration
The invited user clicks the link, sets their password, and activates their account.
Managing User Roles
Each user is assigned a role that determines their access level:
Super Admin
Full platform access. Can manage all users, workspaces, templates, and system settings.
Admin
Workspace-level management. Can invite users to their workspace and manage workspace settings.
User
Standard access. Can create and manage their own projects within their workspace limits.
Account Actions
| Action | Description | Reversible? |
|---|---|---|
| Suspend | Temporarily disable account access | Yes - Reactivate anytime |
| Reset Password | Send password reset email to user | N/A |
| Revoke Sessions | Force logout from all devices | N/A |
| Delete | Permanently remove user account | No - Cannot be undone |