Building Your First Website
Learn how to create a professional multi-page website from start to finish. This guide walks you through every step of the process.
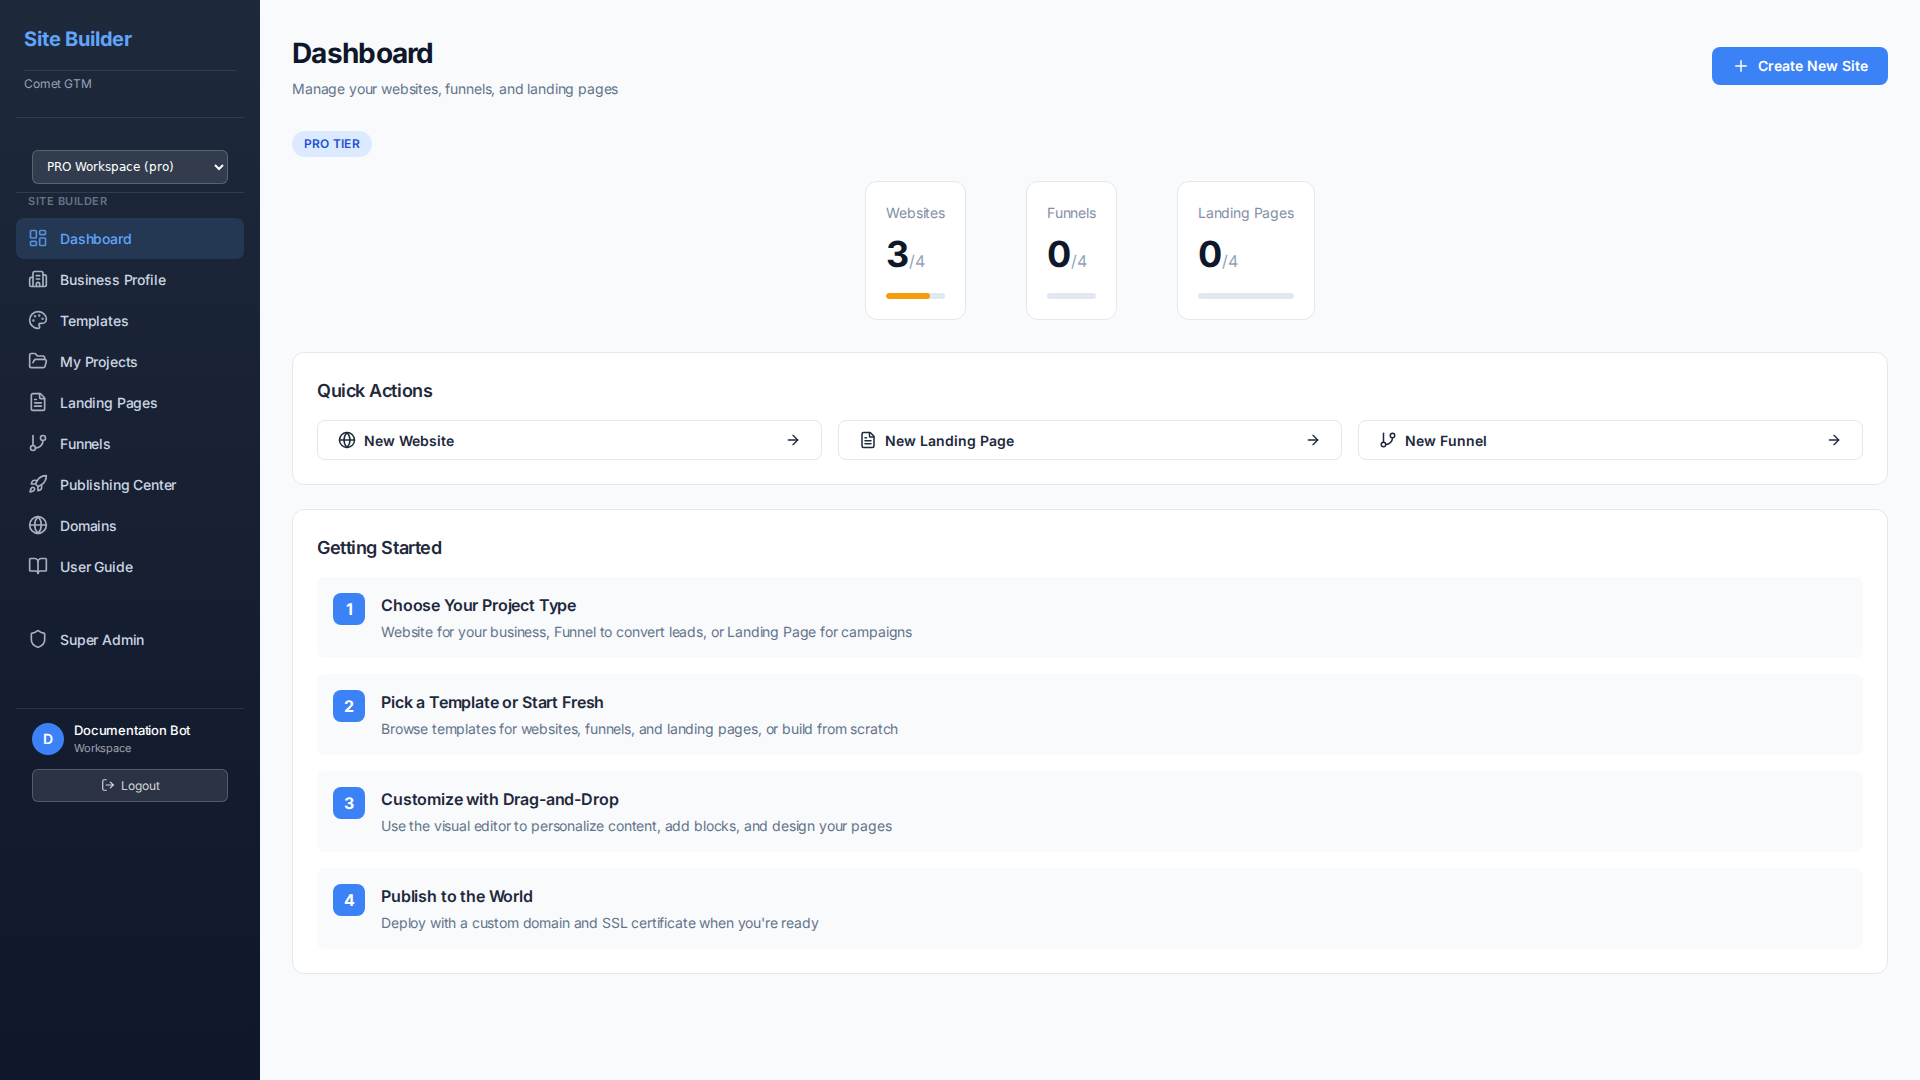
Step 1: Create a New Website Project
Open the Dashboard
Log in to Comet GTM and you'll land on your Dashboard. This is your central hub for managing all projects.
Click "Create New Site"
In the top right corner, click the blue "Create New Site" button. A dialog will appear asking what type of project you want to create.
Select "Website"
Choose "New Website" from the quick actions. Websites support multiple pages, navigation menus, and are perfect for business sites, portfolios, and more.
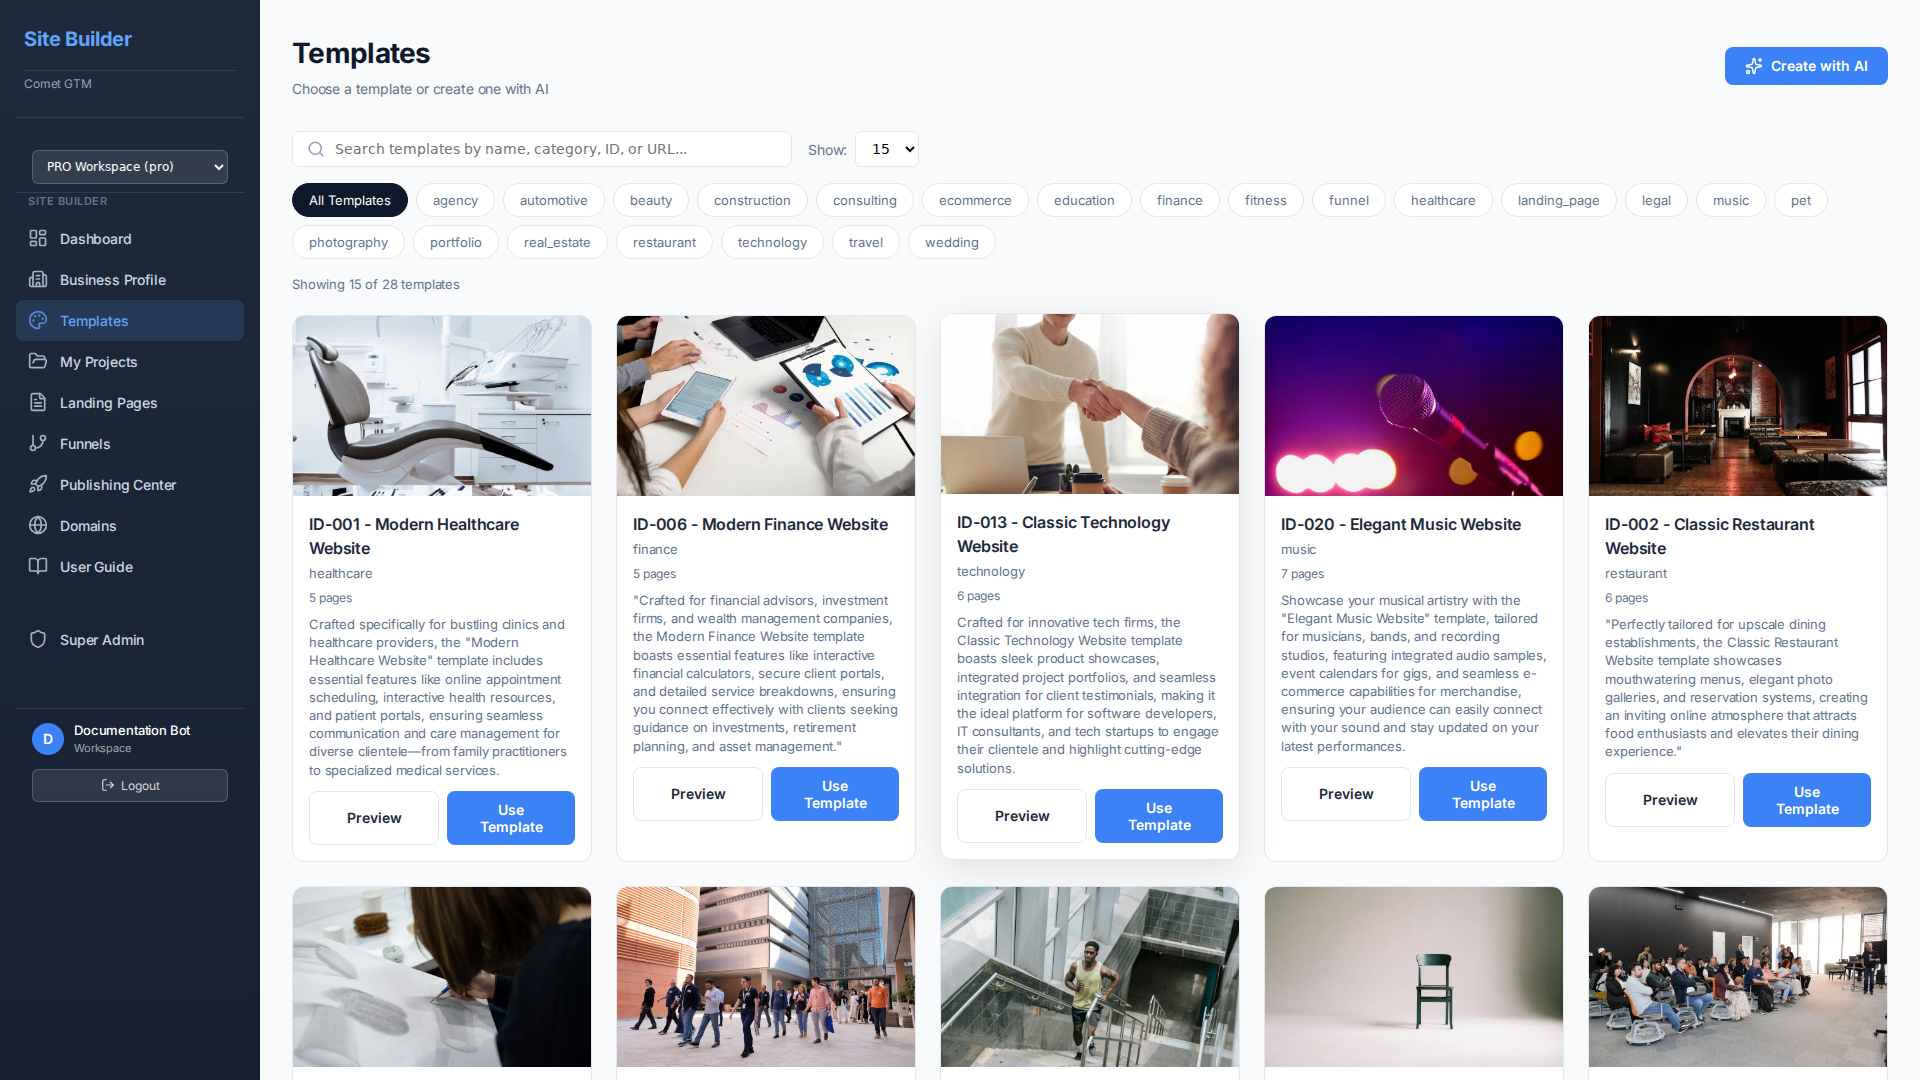
Step 2: Choose a Template
Templates give you a professional starting point with pre-designed pages and content. You can customize everything, so pick one that's close to your vision.
Start from Template
Browse industry-specific templates with pre-built pages, content, and styling. Perfect for getting started quickly.
Start from Scratch
Begin with a blank canvas and build your pages exactly as you envision. Full creative control from the start.
Step 3: Using the Editor
Once you've created your project, you'll be taken to the visual editor. This is where the magic happens!
Editor Layout
- Left Panel - Block library organized by category. Click to add blocks to your page.
- Center Canvas - Your page preview. Click any element to edit it directly.
- Right Panel - Properties, stock photos, AI tools, and settings for the selected block.
- Top Bar - Page navigation, preview, and publish options.
Adding Content Blocks
Browse Block Categories
In the left panel, you'll see categories like Layout, Content, Media, Forms, Commerce, and more. Click a category to see available blocks.
Add Blocks with a Click
Click any block from the left panel to add it to your page. Use the page list to drag and reorder pages as needed.
Customize the Block
Click on the block to select it. Use inline editing to change text directly, or use the right panel to adjust colors, spacing, and other properties.
Step 4: Managing Multiple Pages
Websites typically have multiple pages like Home, About, Services, and Contact. Here's how to manage them:
Adding New Pages
- Click the page selector dropdown in the top bar (shows current page name)
- Click "Add New Page"
- Enter a page name and URL slug
- Choose whether to start blank or copy from another page
Setting Up Navigation
Your navigation bar automatically appears on all pages. To edit the links:
- Click on the navigation block in your page
- Open the Properties panel on the right
- Add, remove, or reorder navigation links
- Set link targets to your pages or external URLs
Step 5: Preview and Publish
Previewing Your Site
Click the "Preview" button in the top bar to see how your site looks to visitors. This opens a preview mode where you can:
- Navigate between pages as a visitor would
- Test links and buttons
- See how forms and interactive elements work
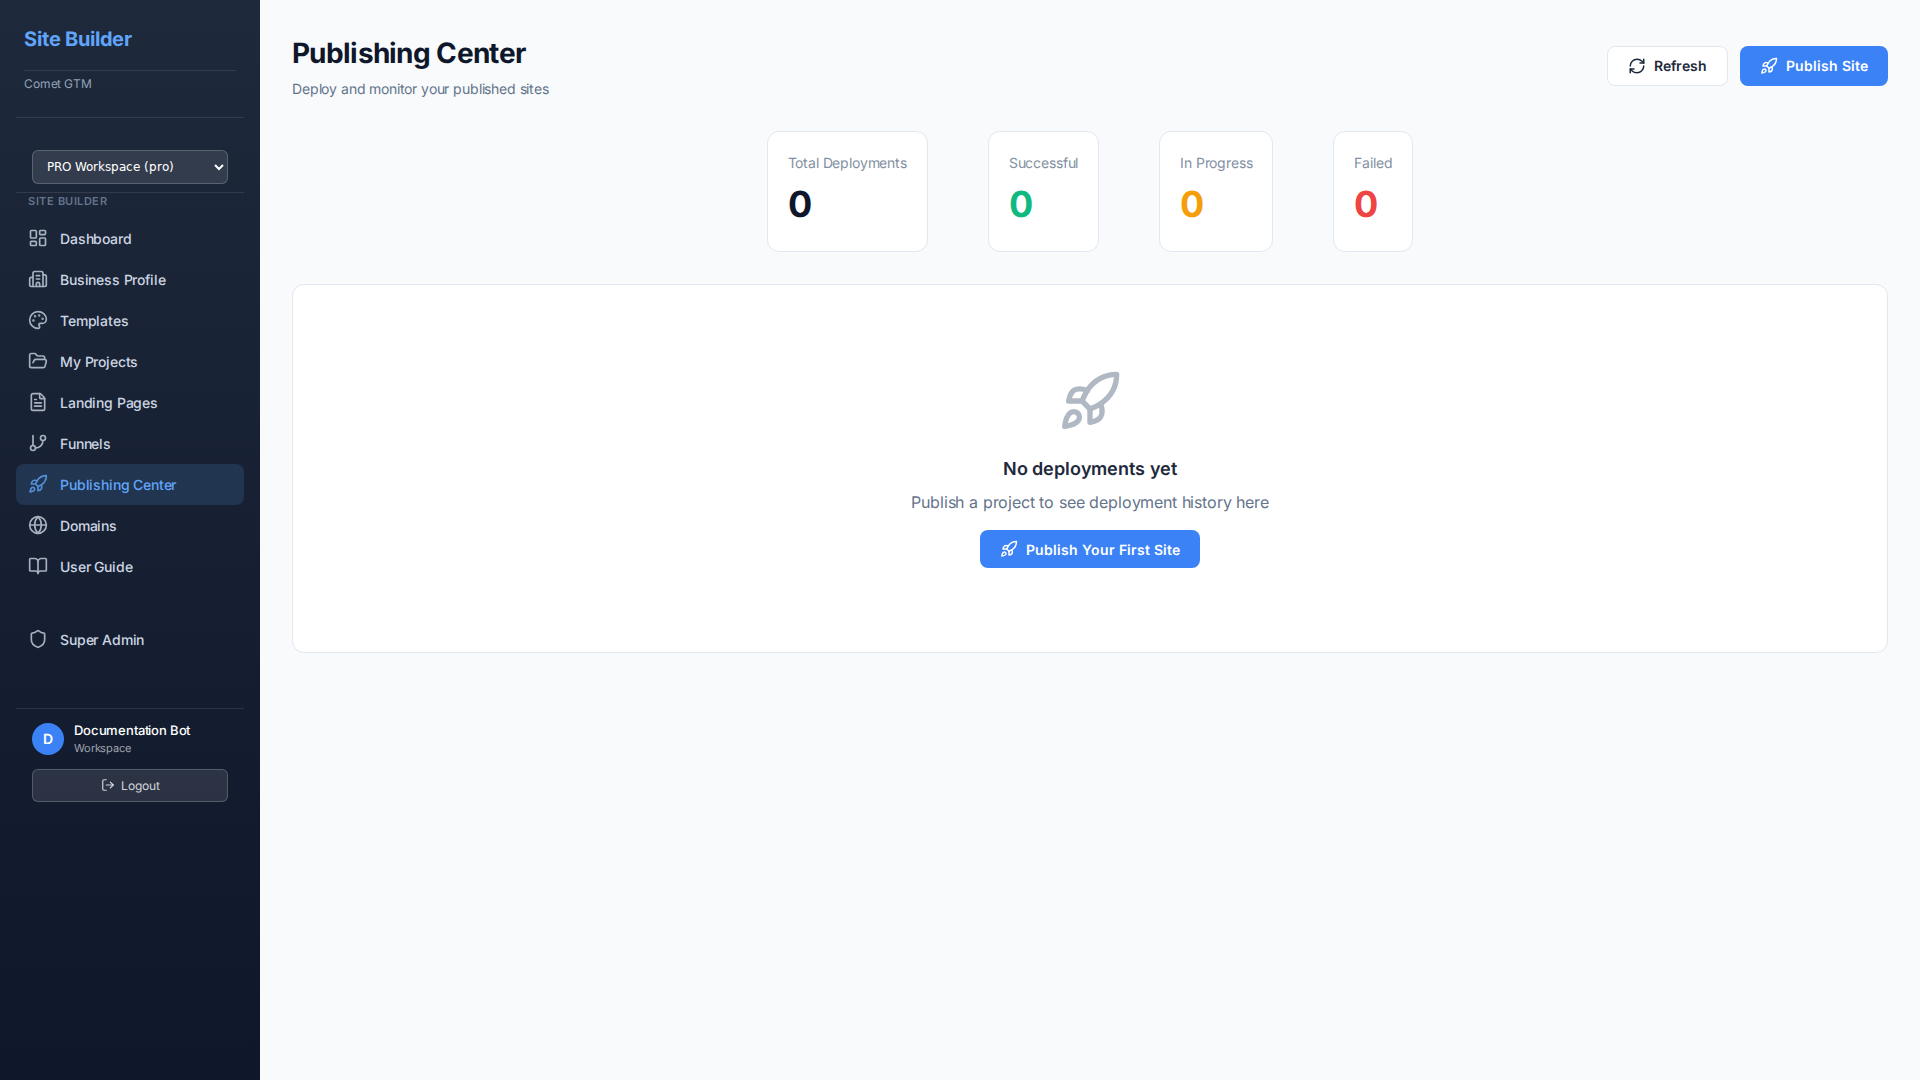
Publishing Your Website
Go to Publishing Center
From the sidebar, click "Publishing Center" or use the Publish button in the editor.
Configure Settings
Set your site title, description, and social sharing image. These appear in search results and when shared on social media.
Choose Your Domain
Use a free subdomain (yoursite.comet-sites.com) or connect your own custom domain.
Click Publish
Your site will be built and deployed within seconds. You'll get a live URL you can share immediately.